
Modifying The Recipe for Industrial Water Testing
Reader Note: If you are unsure how to modify the drop equivalence on a Taylor test or you have a question about a particular test interference, contact Wayne Ivusich, Manager of Education, wayne@taylortechnologies.com or 1-800-TEST KIT.
Did you know that it is possible to change the drop equivalence of your test, simply by increasing or decreasing the sample volume? That you can prevent some test interferences by diluting the water sample? Here we’ll give you hints on how to modify our test instructions and still obtain reliable results. Here's the equation you need to know:
| (original drop equivalence) x (original sample volume specified by instruction) | = new drop equivalence |
| alternative sample volume |
When you are working with the #9198 graduated sample tube, you are limited to three six choices for the alternative sample volume since there are six volume marks in total molded into the side of the tube: 25 mL, 20.5 mL, 14.6 mL, 11.5 mL, 10 mL, and 5 mL. For this reason you could find it advantageous to add the #9188 graduated sample tube to your testing supplies; it offers fill marks at 50 mL, 25 mL, and 12.5 mL.
Increase Drop Equivalency by Decreasing Sample Volume
Let’s say you are testing P and M alkalinity in a steam boiler. The instructions in the K-1533PM call for a 25 mL sample, with 1 drop = 10 ppm. However, the alkalinity in your sample is extremely high (500 – 800 ppm) and you want to conserve your reagent. By decreasing your sample size to 10 mL, now 1 drop = 25 ppm, requiring less reagent to reach the endpoint. Be sure to decrease the amount of indicator and other reagents proportionally to the sample volume change whenever you do this.
Decrease Drop Equivalency by Increasing Sample Volume
Suppose you are using K-1567 to test cooling tower make-up water for calcium hardness. According to the instructions, if you use a 25 mL sample, 1 drop = 10 ppm. However, you suspect the level of calcium hardness in your water is very low. In this example, to obtain a measurement of less than 10 ppm, you can increase your sample size to 50 mL. Now, 1 drop = 5 ppm. Just be sure to increase the amount of indicator and buffer when you use a larger sample size. This particular test calls for 2 drops of indicator. Since you doubled the sample volume, you now need 4 drops of indicator and more calcium buffer. Don’t skip this step, or there may not be enough indicator and buffer in the sample to achieve a strong endpoint.
Diluting a Sample to Overcome Ionic Interference
Very concentrated industrial solutions often have high levels of ionic interference that can affect test results. To eliminate the interference, try diluting your sample with deionized or demineralized water. To begin, use dilution ratios of 1:4 or 1:10.
Let’s say the instruction calls for a 25 mL test sample and you decide to use a dilution ratio of 1:4 (one part of original solution in four total parts of water). In a clean second container you would combine one part of the original solution (say 25 mL) with three parts of deionized or demineralized water (75 mL) and swirl the four parts (100 mL) gently to mix. You then pour this diluted solution into the sample tube up to the 25 mL mark and perform the test. In the original scenario, you're told 1 drop of titrant = 2 ppm. Now that you've diluted your test sample though, you need to adjust the drop equivalence, too. Multiply the original drop equivalence (2) by the dilution factor (4). In this example, each drop of reagent is now equivalent to 8 ppm.
Let's assume it took 5 drops of titrant to reach the endpoint of the test. The concentration of the parameter in question is thus 5 x 8 ppm, or 40 ppm.
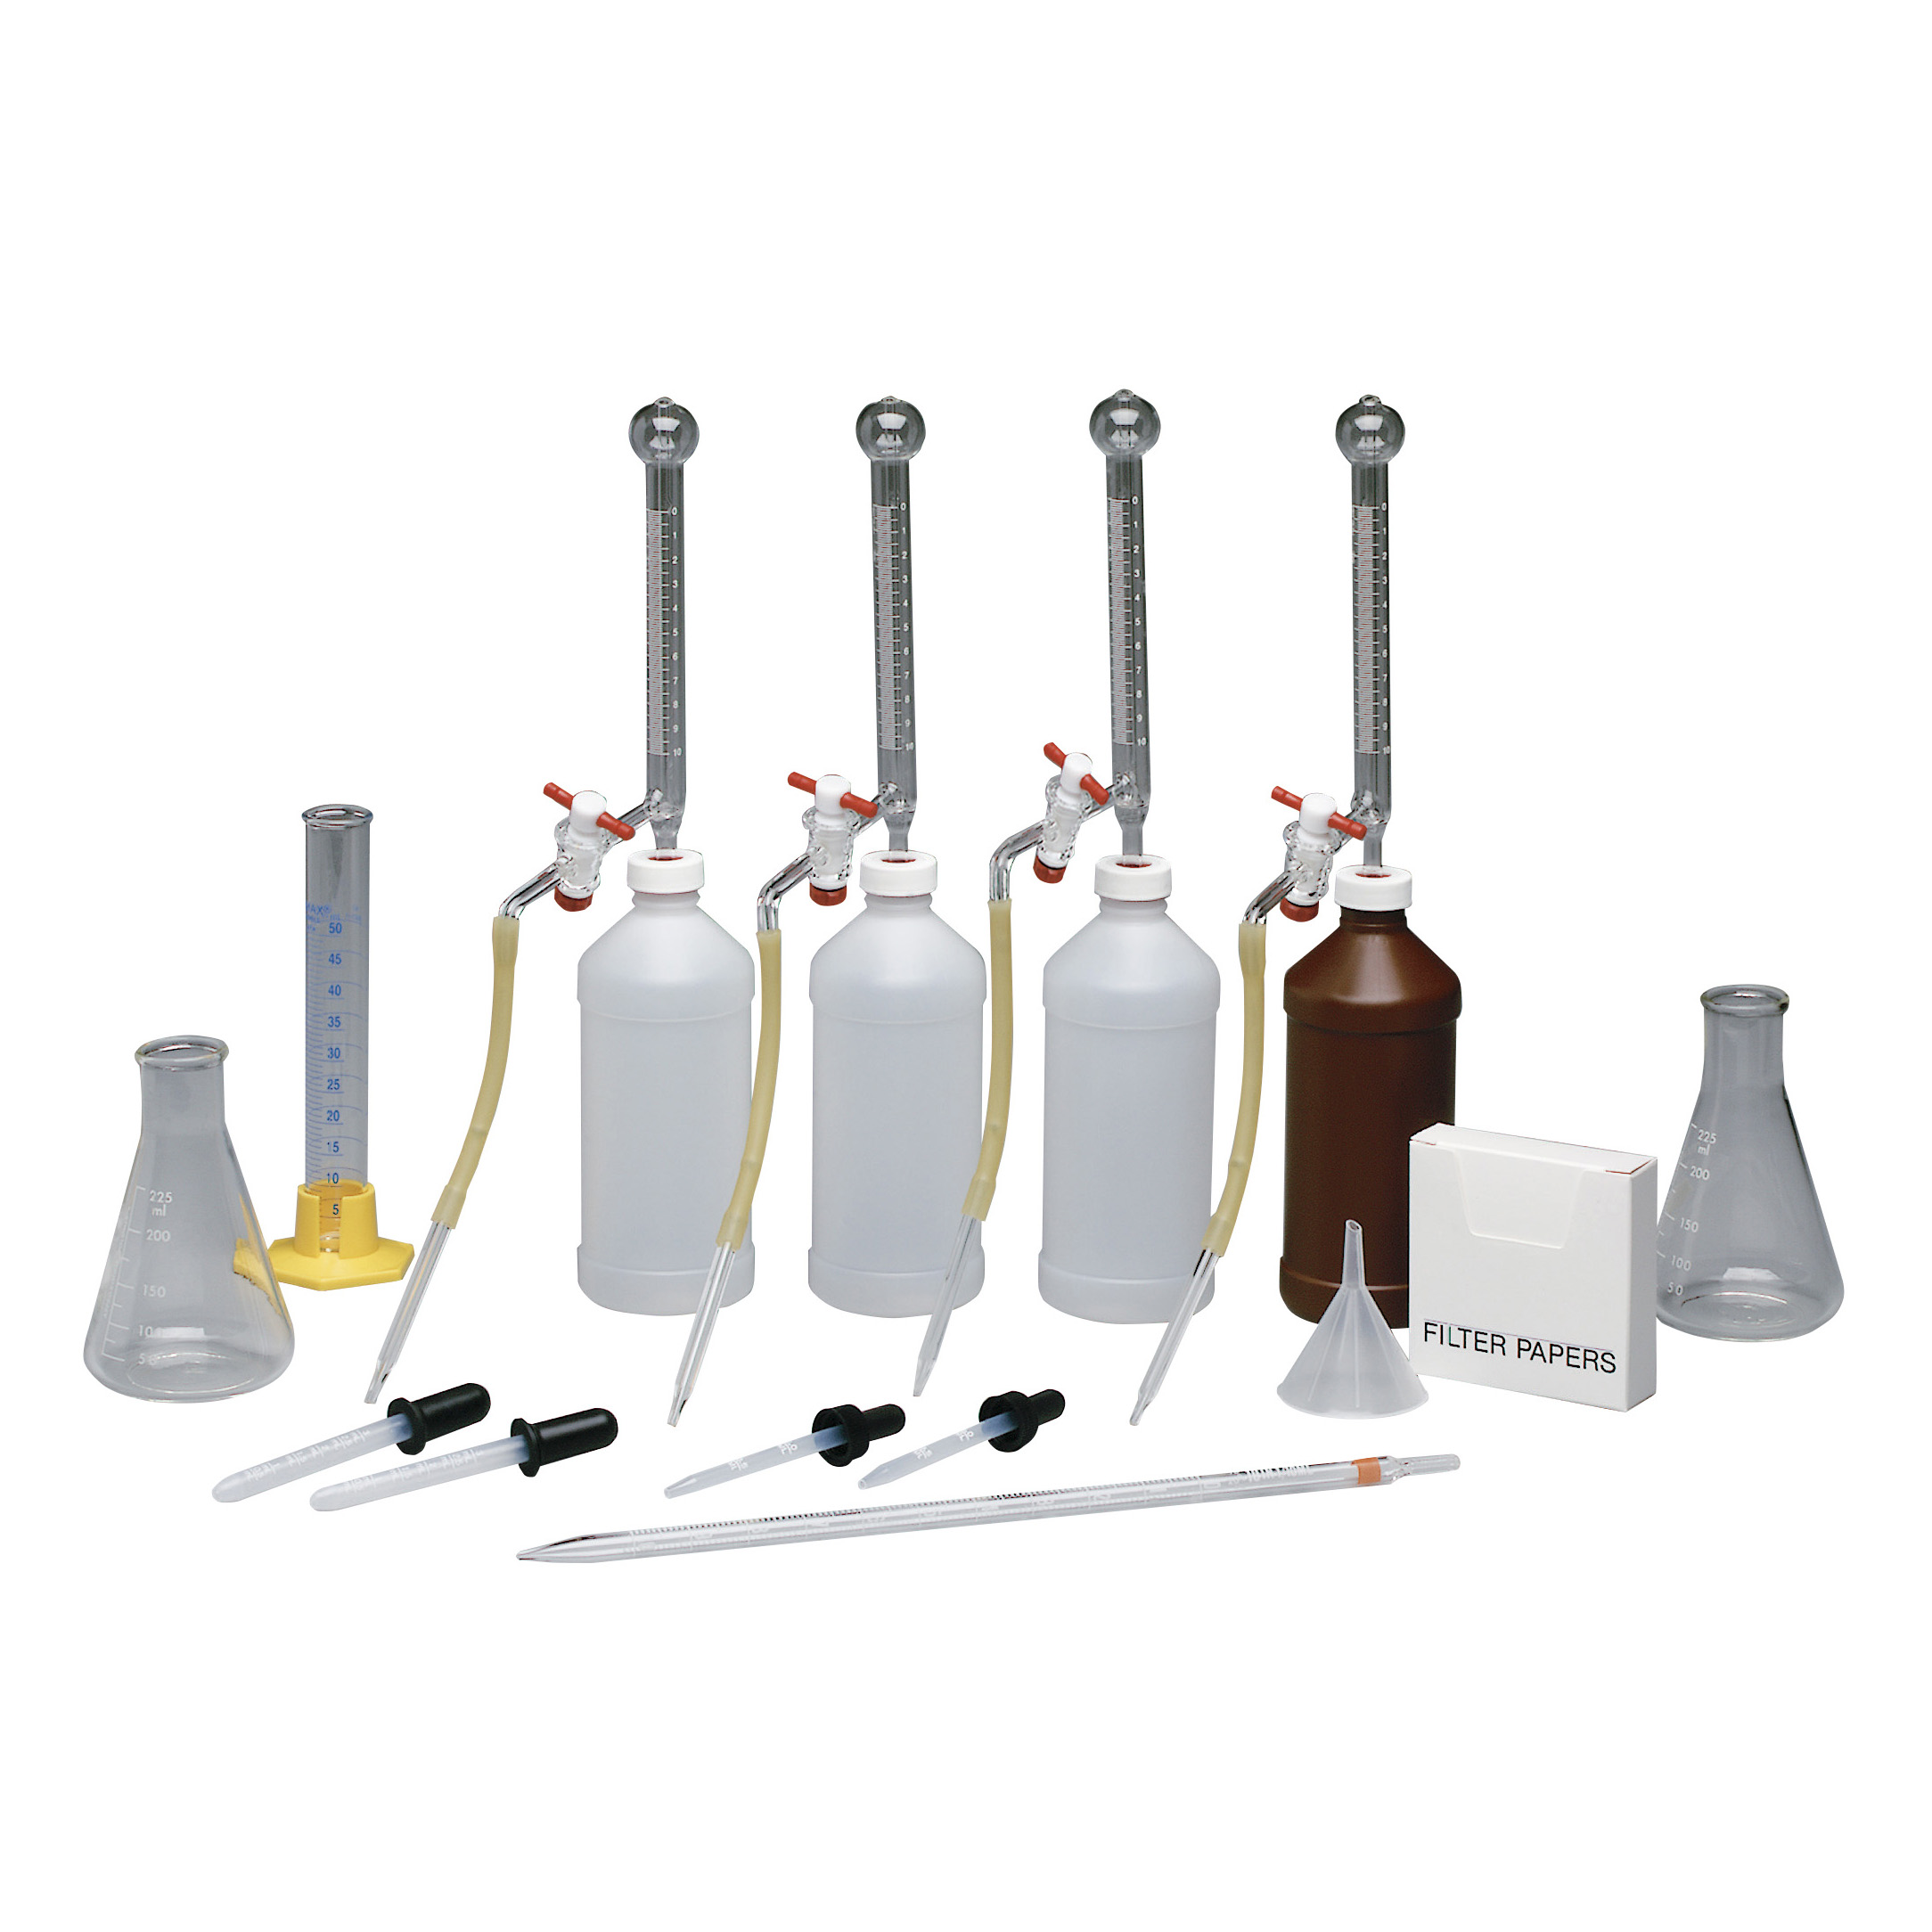
For your convenience, Taylor offers both DI water (R-0833) and a demineralizer bottle (R-0804-DD). We also carry beakers, flasks, pipettes, and other labware.

About Taylor
There’s a Reason Taylor Is the Most Trusted Name in Water Testing
In fact, there are a number of reasons. Taylor is a leading developer and manufacturer of water-testing kits and reagents for the pool/spa and industrial sectors. With unparalleled customer service and support, Taylor is the go-to for every distributor, retailer, commercial operation, and homeowner…wherever water is tested.
Follow Us
Location
Taylor Water Technologies LLC
31 Loveton Circle
Sparks, Maryland 21152
Need Help?
- 800-TEST KIT (800-837-8548)
- Shipping & Return Policies
- Technical FAQs
- Order Tracking
- Give Us Feedback
Copyright © 2022. Taylor Water Technologies LLC